
How to set up automatic backups on macOS

Introduction
Data loss can happen unexpectedly due to hardware failure, accidental deletion, or security threats like ransomware. For users of macOS, maintaining a consistent backup strategy is the most effective way to protect critical files, such as academic projects, professional documents, and personal memories. Setting up an automatic backup system ensures that your information is preserved without the need for constant manual intervention, providing peace of mind and a reliable recovery path.
Implementing an automated process involves selecting a storage medium and configuring the built-in software to run at regular intervals. By automating this task, you eliminate the risk of human error or forgetfulness, which are the primary reasons most people lose data. Whether you are a student managing research or a small business owner handling client records, having a "set and forget" system is essential for digital continuity.
Benefits of using Time Machine
The primary tool for automatic backups on macOS is Time Machine. This built-in utility is designed to take incremental snapshots of your entire system. This means it does not just save your files, but it tracks changes over time. If you realize you deleted a document yesterday or corrupted a file an hour ago, Time Machine allows you to "travel back in time" to retrieve specific versions of those items.
Using an automated system like Time Machine offers several advantages:
- System-wide protection: It backs up your applications, system files, user data, and settings.
- Version history: You can recover previous versions of individual files, not just the most recent save.
- Ease of use: Once configured, the software runs in the background without interrupting your workflow.
- Automated scheduling: The system detects when your backup drive is connected and performs updates automatically.
Preparing your backup hardware
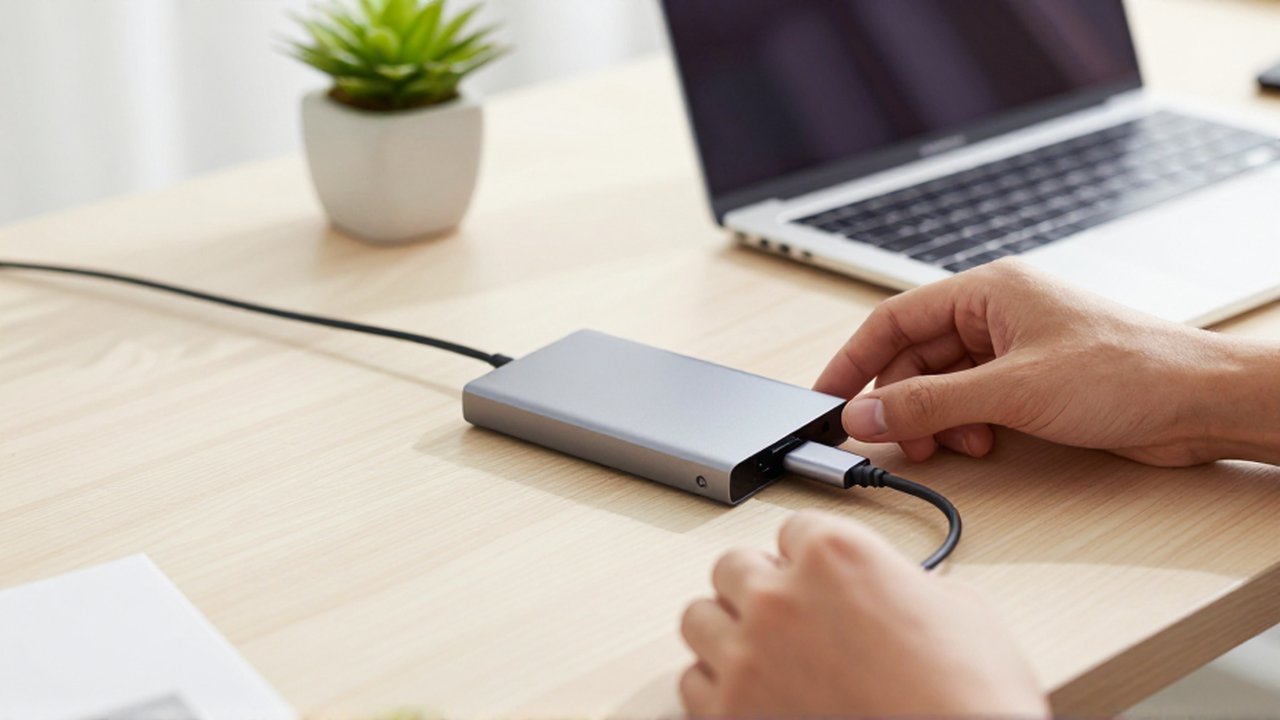
Before you start the software configuration, you need a reliable external storage device. This can be an external hard drive (HDD) or a solid-state drive (SSD) connected via USB, Thunderbolt, or USB-C. When choosing a device, consider its capacity relative to your Mac's internal storage.
A general rule of thumb is to choose a drive that has at least twice the capacity of the data you intend to back up. This extra space allows Time Machine to store multiple generations of your files and prevents the drive from filling up too quickly. Ensure the drive is formatted correctly; macOS will typically offer to reformat the drive for you during the setup process, which will erase any existing data on that external device.
Steps to configure automatic backups
Setting up the automation is a straightforward process within the macOS interface. Follow these steps to ensure your system is protected:
- Connect your external storage device to your Mac.
- Open the Apple Menu and select System Settings (or System Preferences on older macOS versions).
- Navigate to General and then select Time Machine.
- Click on Add Backup Disk or the plus (+) icon.
- Select your connected external drive from the list of available disks.
- Decide whether you want to encrypt your backup. Encryption adds an extra layer of security, ensuring that if your external drive is lost or stolen, your data remains inaccessible without your password.
- Click Set Up Disk.
Once these steps are completed, Time Machine will perform its first backup. This initial process may take several hours depending on the amount of data on your Mac and the speed of your connection. After the first backup is complete, subsequent backups will be much faster because they only copy the changes made since the last session.
Best practices for data redundancy

While automatic backups are highly effective, relying on a single backup method can be risky. A professional approach to data safety involves the 3-2-1 rule. This principle suggests having three copies of your data, stored on two different types of media, with one copy located off-site.
To implement this on macOS, you might keep your primary data on your Mac, an automatic backup on an external drive via Time Machine, and a secondary copy in a secure cloud storage service. This protects you against localized disasters, such as fire or theft, which could destroy both your computer and your local external hard drive simultaneously.
Common mistakes to avoid
Many users encounter issues with their backup routine due to preventable errors. One common mistake is failing to keep the backup drive connected regularly. If you use a laptop, you must ensure the drive is plugged in frequently enough to allow for regular updates.
Another mistake is neglecting to monitor the backup status. Occasionally, a drive may become disconnected, or a file may be "in use" and unable to be copied. Periodically checking the Time Machine settings to ensure the "Latest Backup" timestamp is recent is a vital maintenance habit. Finally, do not treat your backup drive as extra storage for large, unnecessary files like movies or installers, as this will quickly consume the space needed for version history.
Frequently asked questions
How often does Time Machine perform backups? By default, Time Machine performs backups every hour. If no changes have been made to your files, it will skip the hour; if the drive is disconnected, it will begin the backup as soon as the drive is reconnected.
Will using a backup drive slow down my Mac? The backup process is designed to run in the background. While you might notice a slight decrease in disk performance during the initial, massive backup, subsequent incremental backups have a negligible impact on daily performance.
Can I use a network drive for automatic backups? Yes, macOS supports backing up to Network Attached Storage (NAS) devices that support the SMB protocol. This allows for wireless, automatic backups if your Mac and the NAS are on the same network.
What happens when the backup drive is full? Time Machine is designed to manage space automatically. When the drive reaches its capacity, it will automatically delete the oldest backup snapshots to make room for new ones, ensuring the most recent data is always preserved.
Leave a Reply